Photography Tutorials

Using Flash to Control Reflections When Shooting Through Glass

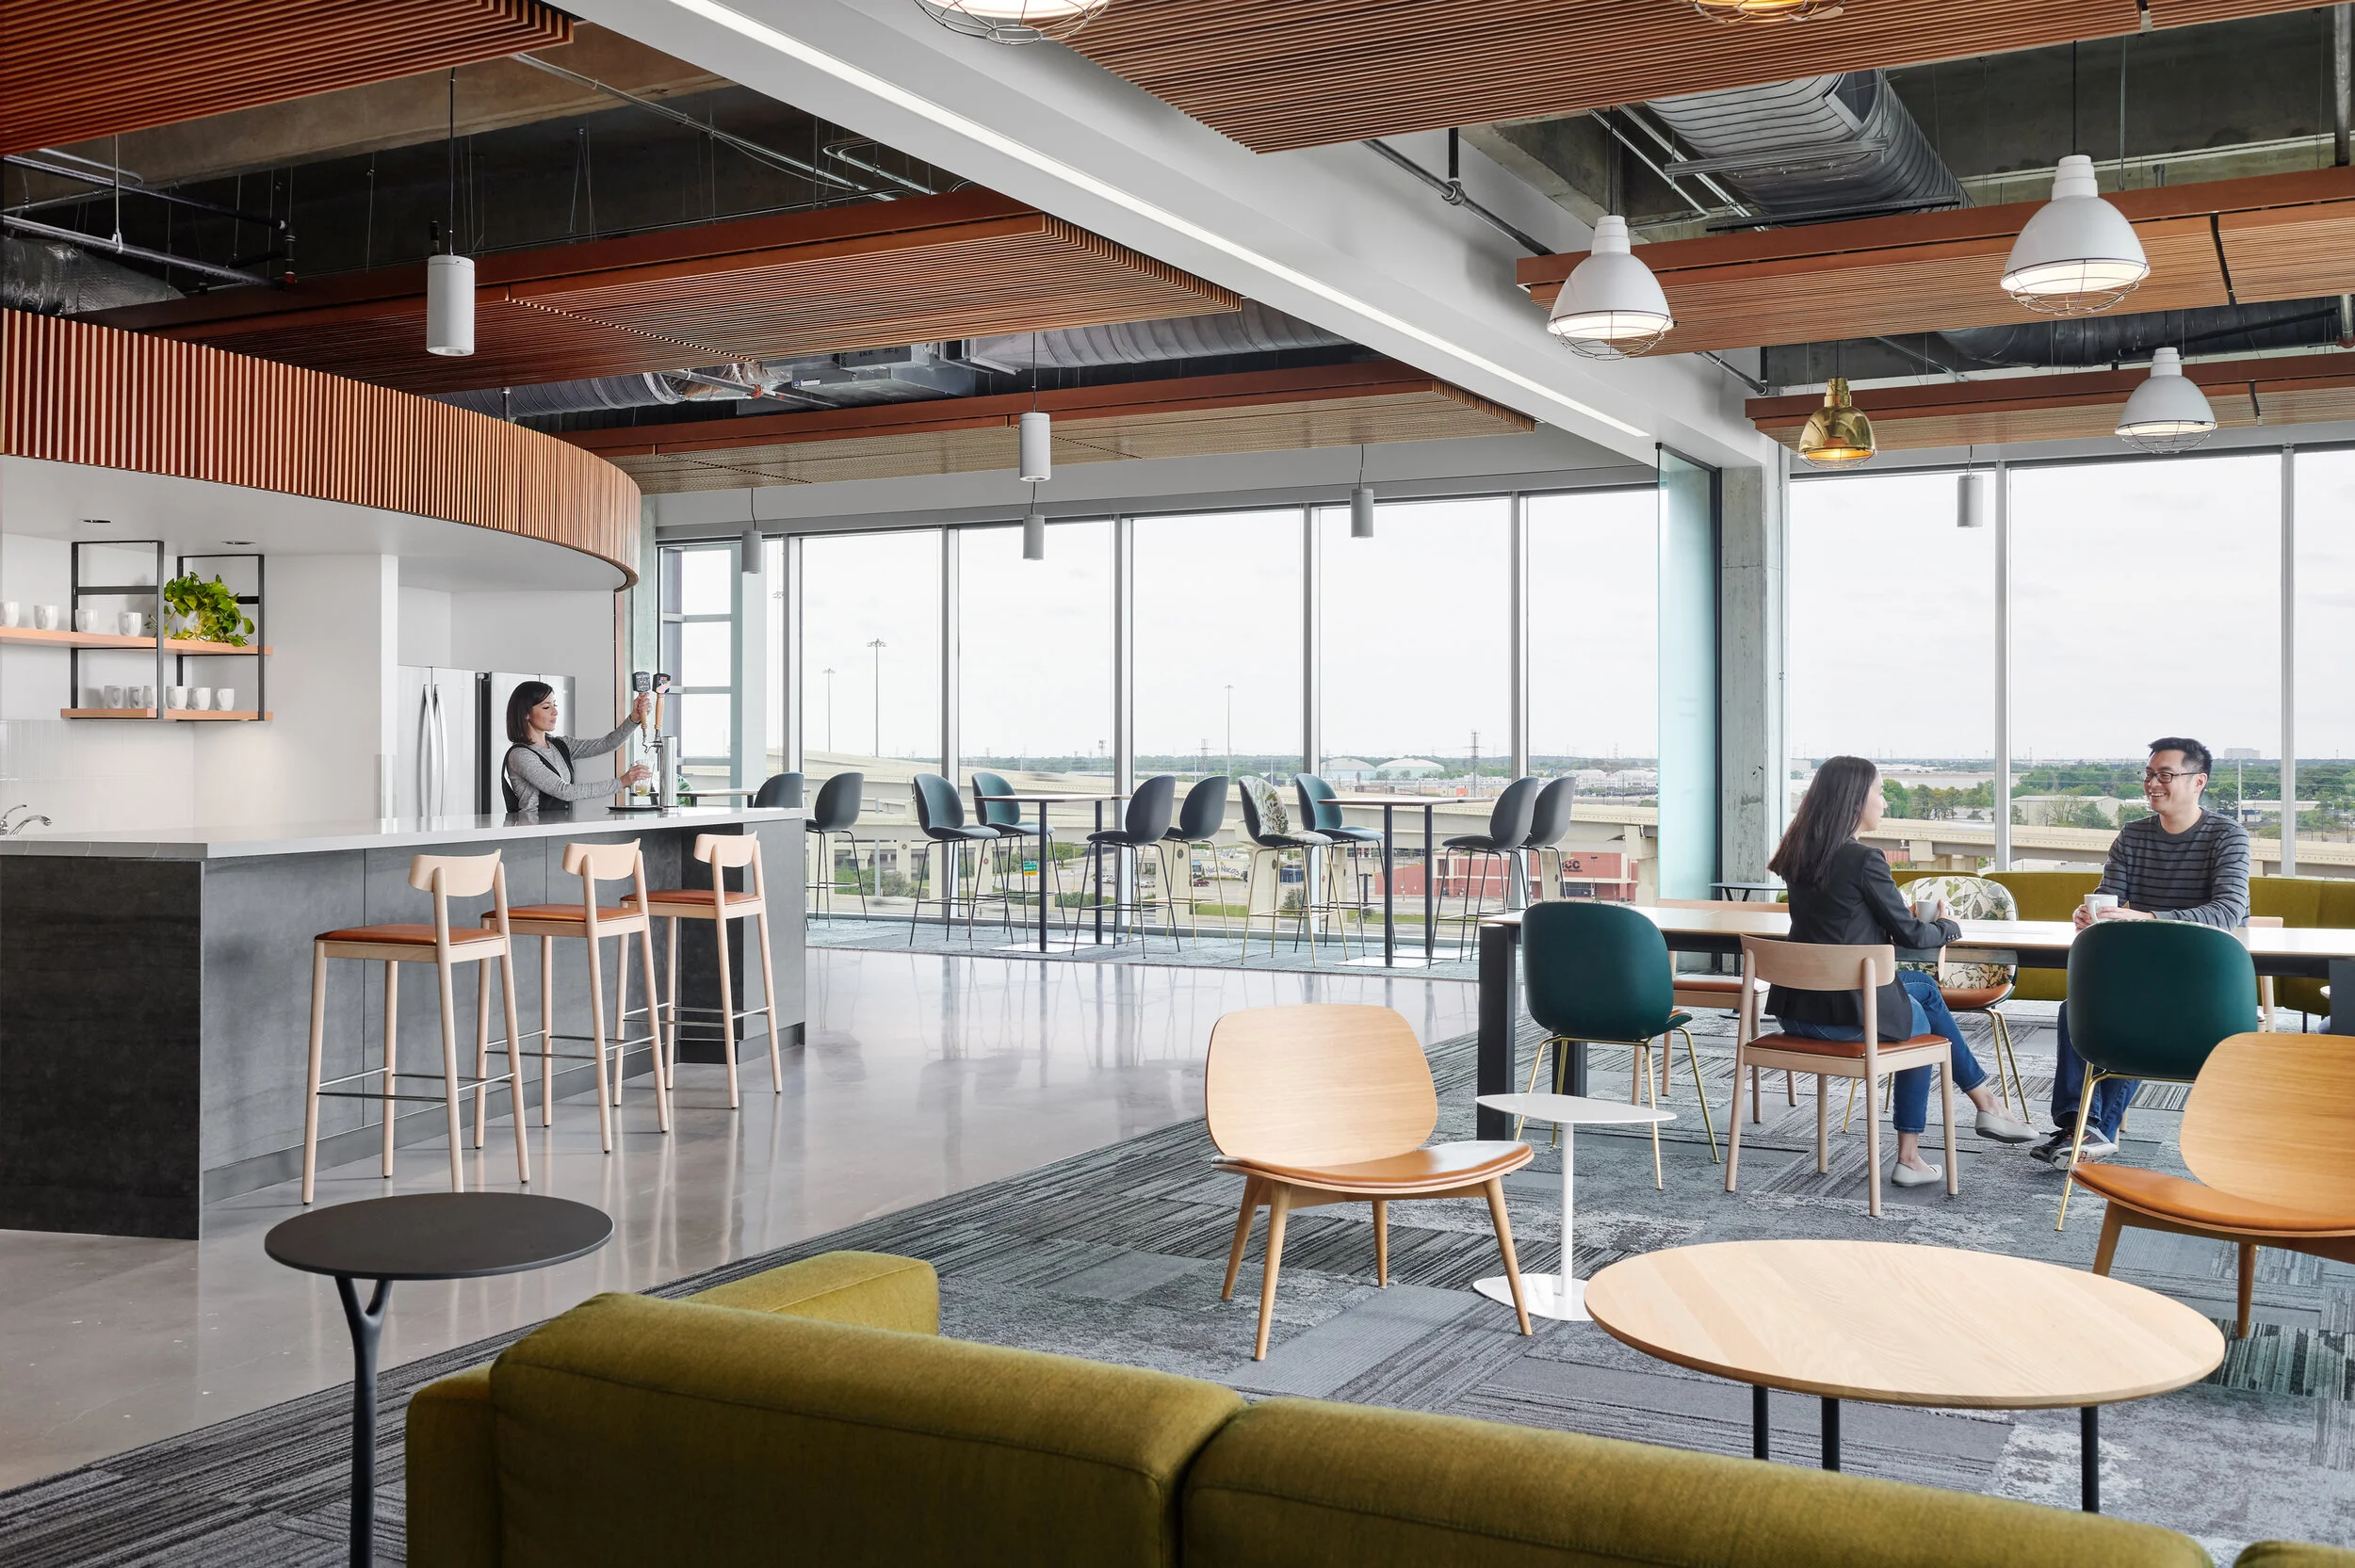
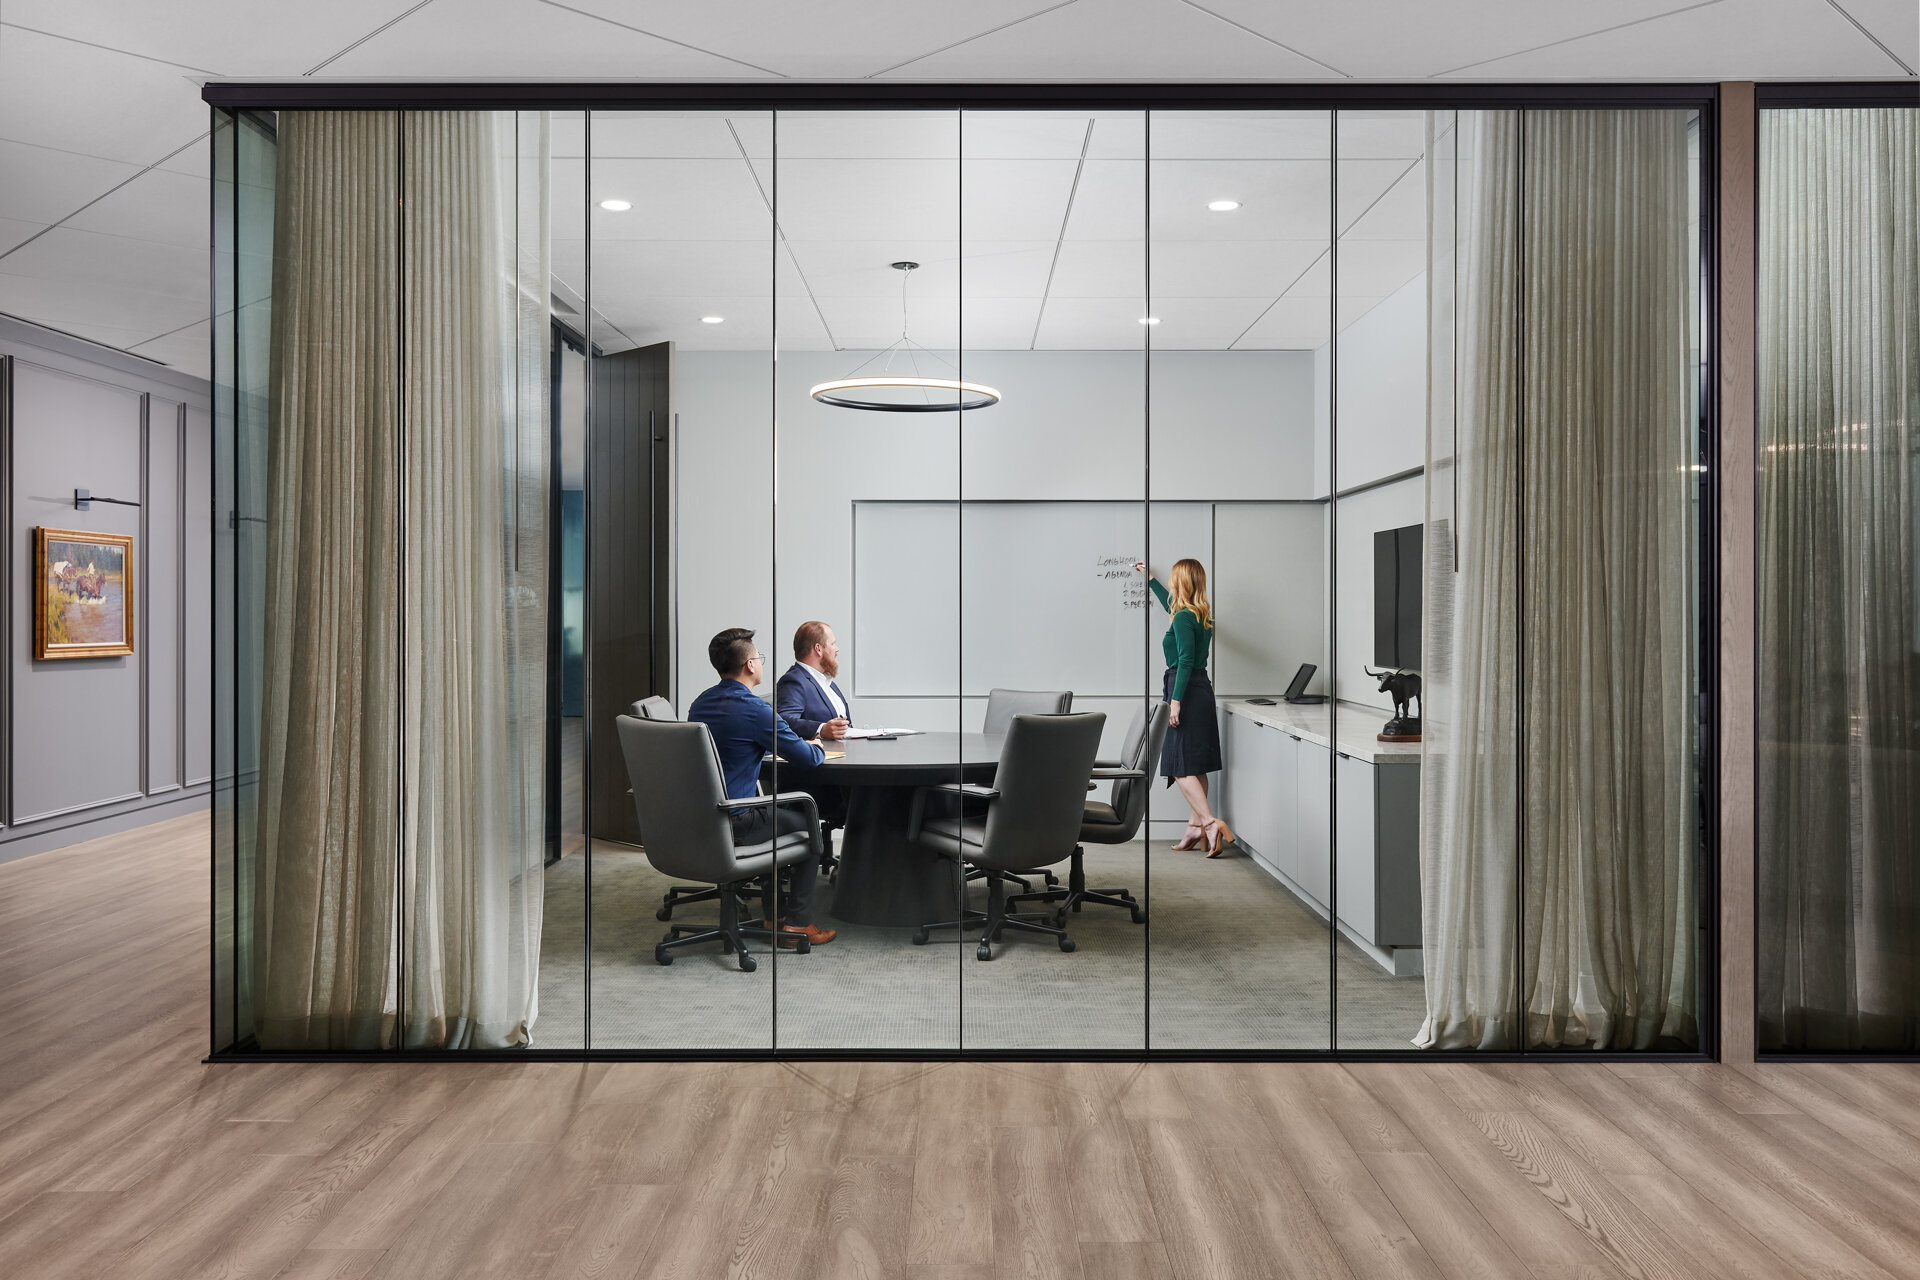
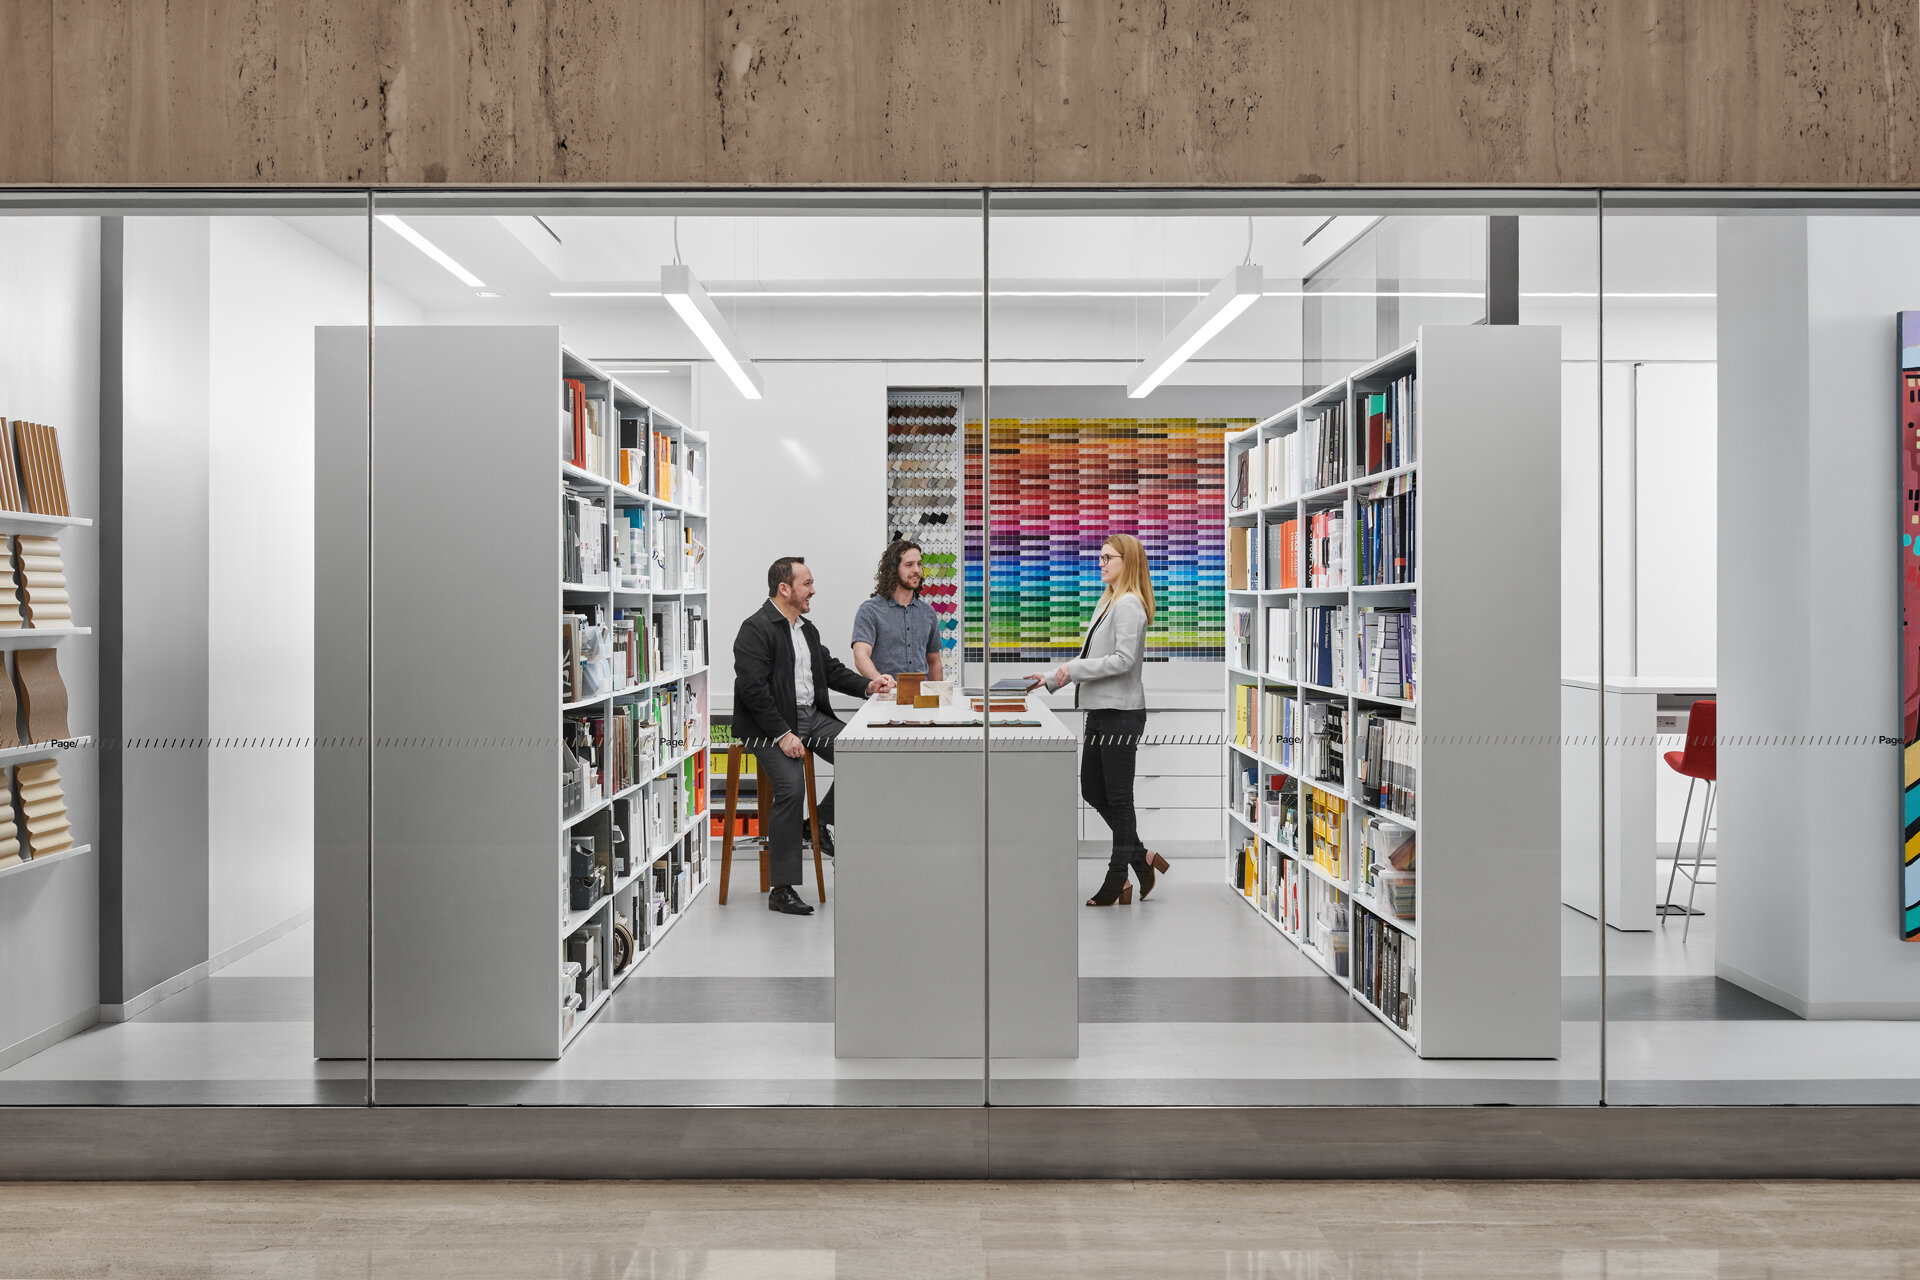
A few months back, I posted a video and write up describing a handful of techniques that I employ in order to effectively shoot a space that is behind glass without distracting reflections that distract from the design beyond. This video shows a recent example of one of these images from a project we shot with Perkins + Will of an office space in Dallas. This particular space featured a soft seating area in front of a large graphic wall. To add to the difficulty of capturing the space and how it sits within the larger context, the enclosing glazing features a film with a grid pattern which proved challenging when attempting to figure out how best to show the detail of the it, the wall graphic and some models using the room.

By dividing the room into two halves when determining how to light it, we are able to recreate the practical lighting that exists within it, giving a pleasing and natural quality of light. This lighting technique in conjunction with fast shutter speeds allows us to remove the majority of reflections from the camera side of the glass, however we did encounter some harsh reflections in the left hand chair from our strobes bouncing off of the white frames in the left of the frame, leading us to have to flag off those frames using black cloth.

Once lighting was complete, all that was left to do in post was to composite the information together and do some color corrections to end up with the below result.

P+W_Tenet Health_015_v1.jpg

Using Patience and the Pen Tool to Create a Clean Interior Composite

For my latest video, I returned to an earlier screen recording (partly due to some more recent screen recordings being in the wrong format) of an image we created for IA Interior Architects in 2019. This particular example helps to illustrate how Photoshop’s Pen Tool can often be the best way to create a clean transition between the exterior and interior, particularly when it comes to a large workplace interiors with a darker interior core and perimeter of floor to ceiling windows.

Making selections in Photoshop can be an incredibly powerful mechanism for isolating specific areas, whether that be to assist with color corrections, blend exposures, or incorporate models and other portions of individual frames where the lighting might not allow for simply brushing in masks. Though I employ a large variety of methods when creating selections, the one that I’ve come to lean on the most over the past several years is the Pen Tool. The pen tool, though very tedious at first, can provide the most accuracy in a relatively short amount of time once using it is mastered and becomes second nature. One great resource for learning the ins and outs of the tool is a website called The Bézier Game, which walks you through using the pen tool to create increasingly complex shapes. After honing my skills at the tool, it’s now one of my most used and is often something I reach for when beginning to create a selection of any kind.

Anyone who photograph’s spaces, particularly commercial spaces, knows that there are certain ones with the potential for great imagery, but whose challenges jump out at you from the moment you encounter them. This image is a perfect example of that. Upon entering this space which serves as a break area for a workplace, it was immediately clear to me the potential that it had - warm would ceilings with great depth and texture, a variety of great furniture that are rich in color, unique lighting design and interesting geometry. Also very apparent the moment I entered was how each of these elements along with the wall of glazing that enclosed the space on two sides created a very challenging scenario for an image that shows the entirety of the space cleanly and with the lightness that you feel when you’re inside of it.

In order to tackle the variety of challenges within the space, we had to mentally break the space up into sections in order to cleanly light the furniture and finishes to best reduce color cast and reflections from the outer perimeter. A circular polarizer was also used to create ambient frames that cut down on that reflective glare as well, knowing that all of the above frames would be combined strategically in post-production in order to create the final result seen below.

IA_AWS-Houston_007_v2.jpg

Controlling Reflections in Glass

Ahh, reflections. On set, I will often joke that reflections are the architectural photographer’s arch nemesis. Specifically with commercial and workplace interiors, our objective is generally to show spaces and how they relate as clearly as possible in order to convey the design teams intent without unwanted distractions. One thing that makes this a challenge more than anything else is reflections in glass and other surfaces. Over the years, through a lot of on the job learning, skill sharing with others and trial and error, I have come up with a few techniques that I commonly will employ in order to remove unwanted reflections in order to best tell the story we are trying to convey through a particular image. These can be boiled down to essentially either controlling the offending ambient light on the camera side of the glass or overpowering it within the space that you are trying to show through it. Controlling the ambient light most often means some combination of lighting controls within the space (i.e. turning off all lights on the camera side of the glass that might reflect) or flagging it off using window shades, black fabric/plastic, and other methods. When these options aren’t enough, flash has proven to be an invaluable tool within the space we are trying to convey by overpowering any ambient light therefore removing what is being reflected in the glass from the camera side. Very often we are using several techniques for an individual shot in order to get the best results.

In the video below, I walk through four different scenarios where we were shooting single point perspectives through glazing systems that presented challenges with reflections that we had to troubleshoot in order to get the best shots possible. One thing that helped me greatly over the years is developing an understanding of how reflections work. In the study of photography, we are often taught about the angle of incidence, which is a way of describing how light sources and other objects will be reflected in a subject matter back into the camera. In the case of this topic, it is one of the things that helps me think of what is needed to control objects being reflected into a surface that we are trying to show as transparent. The diagrams below are my attempt at illustrating the angle of incidence when shooting similar shots to the examples below from my video. I have found that our instinct is often to think that all we need to do to control a reflection is build a flag the same size as the surface of the glass area, when really it is far larger. In my career, I’ve done a lot of work photographing for the art community and shooting framed work behind glass was one thing that really helped me get a grasp on this due to the more controllable scale of artwork versus that of architecture and interior spaces. The angle of incidence can be thought of as the reflected angle of that of the projected line from the point of the camera lens to the outer most portions of the reflective surface (glass). This is a complicated concept to describe in writing, so hopefully the diagrams will illustrate this clearly. The import part is to understand that not only are we having to consider what’s directly behind the area of the glass, but also above, below, left and right of that area relative to the camera position and angle. For example, the diagram below shows that the two lights nearest the wall will not be seen in the camera view, but the subsequent to will show up, as will a similar portion of the floor below.

Diagram of the angle of incidence when shooting a single point perspective of a wall with a window in it.

Diagram of the angle of incidence when shooting a single point perspective of a wall with a window in it.

A similar diagram, this time with a flag behind the camera.

A similar diagram, this time with a flag behind the camera.

Hopefully the above information and below video give some insights on how you can go about troubleshooting similar challenges in your own work and help result in cleaner images for yourself and your clients.